Beginner's Guide to Riverside Hiking: Footwear, Navigation and River Crossings
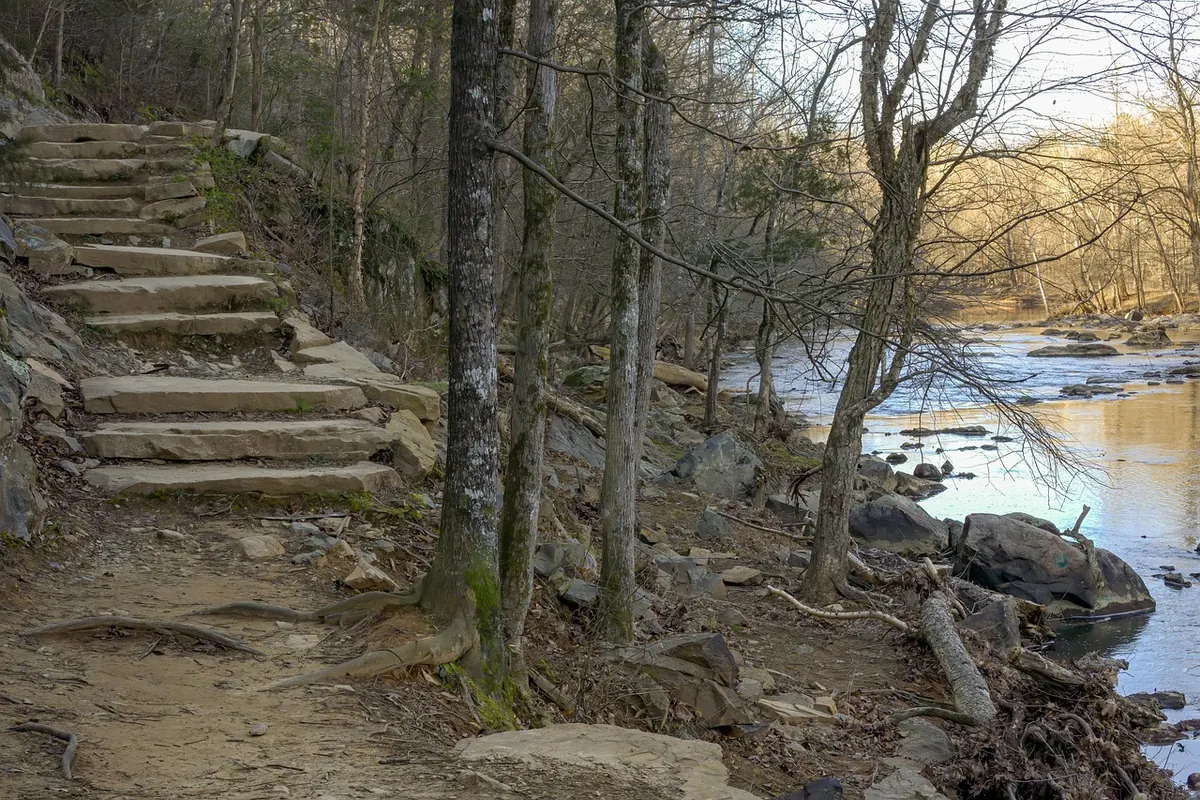
A river trail is never the same trail twice. One week you're walking dry gravel beside a clear channel; the next the path is a mud chute and a new side stream cuts across it. That changeability is what makes riverside hiking so good, and it's also what asks more of you than a stroll through a pine plantation.
Nothing here is complicated. It comes down to a few habits: footwear that holds on wet rock, a map you can read when the path vanishes, and enough honesty to turn around when the water tells you to.
Footwear: Get This Right and the Rest Gets Easier
Most riverside misery starts at the ankles. Wet rock, slick roots, mossy slabs and greasy clay behave nothing like dry dirt. A tread that grips well on gravel can feel like ice skates on a wet boulder, so look for sticky rubber and deep, widely spaced lugs that shed mud instead of packing it.
Boots or Trail Runners?
Trail runners dry fast and shrug off repeated crossings. If your day involves more than a couple of fords, they're usually the better call, because wet boots are heavy boots. Waterproof boots make sense on cold, mostly dry routes with one or two easy crossings. On a route with six fords, they turn into buckets and stay that way until evening.
Fit matters more than category. Your heel should stay locked when you push off, and your toes shouldn't jam the front of the shoe on descents. That's how day-one blisters begin.
Socks and Small Details
Skip cotton. Wool and synthetic blends keep their loft when damp and dry faster overnight. Even in summer, a light wool sock handles a wet crossing better than cotton that stays soggy for hours. Carry a spare pair in a sealed bag.
If you'll be wading, pack light water shoes or sandals with covered toes. Barefoot crossings are how people slice a foot on sharp shell, glass or a submerged branch. Cold water is a genuine hazard, so if you have a heart condition or you're unsure how your body will react to wading fast snowmelt, ask a doctor before you plan a route around it.
Reading the Trail Beside the Water
Riverside paths are often faint, braided or rerouted overnight. Markers wash out. The bank you walked last spring may now be undercut, and a log jam can pile twenty metres of loose timber where the trail used to run.
- Carry a paper map and compass, or a downloaded offline map. Signal disappears in steep valleys, and batteries drain faster in the cold.
- Watch the side streams. Tributaries, not the main river, are usually what actually blocks your route.
- Note landmarks in both directions. A confluence looks different on the way back, and so does a bend.
- Leave your plan with someone. Route, turnaround time, and who to call if you're late.
Stay off undercut banks, where the soil overhangs and eventually breaks. Treat wet logs and driftwood as traps rather than bridges; they roll, and they're slicker than they look.
Reading the Water Before You Step In
Spend two minutes looking before you commit. Quiet, smooth water is usually deep. Noisy white riffles are usually shallow but push hard. A glassy tongue sliding over a lip means the flow accelerates and deepens just below, so the calm-looking patch is often the worst place to put a foot.
Depth and speed matter together. Ankle-deep water moving fast can knock you down, while knee-deep water drifting slowly is manageable for most fit beginners. As a working rule, if it's above your knees and moving faster than your walking pace, find another way across.
Look upstream, too. Brown, rising water means rain fell somewhere you can't see. Mountain streams climb through the afternoon as snowmelt feeds in, so a crossing that was easy at breakfast can be a different animal by four o'clock.
Crossing Without Drama
- Pick the widest, shallowest line, even if it isn't the most direct. Braided channels and gravel bars often hide a better route fifty metres upstream.
- Loosen your hipbelt and sternum strap so you can shed your pack if you go under, and stow your phone and keys in a dry bag first.
- Face upstream and shuffle sideways. Keep your feet wider than shoulder width and never cross one leg over the other.
- Use a trekking pole, a sturdy stick or a companion's hand. Aim for three points of contact at all times.
- Angle slightly downstream as you go, so the current nudges you toward the far bank rather than fighting you.
- Look at the opposite bank, not at your feet. Your balance follows your eyes.
If you fall, let the pack go, roll onto your back and float feet-first with your toes up, steering toward the nearest eddy or shallow bank. Don't try to stand in fast water; a foot wedged between rocks is far more dangerous than a float.
When to Turn Around
Turning back is a skill, not a failure. Go around or go home when the water is rising or running brown, when branches are sweeping past, when you can hear rocks knocking along the bed, or when the safest crossing would put you deeper than your knees in moving water.
There's usually an alternative: walk upstream to a footbridge, follow a road bridge marked on your map, or take a higher path along the valley side. If none exists and the light is going, waiting beats wading. A river that's too high at dusk is often ordinary by morning.
The Five-Minute Prep That Saves the Day
Before you leave the car park, check the weather upstream of your route, not just overhead. Mark two turnaround points on the map, one based on time and one based on water level. Tell someone where you're going. Seal a dry layer and spare socks in a bag. Keep the map somewhere you can reach without taking your pack off.
Then walk, read the water as you go, cross where it's wide and shallow, and give yourself permission to stop at the bank and call it a day. The trail will still be there next week.
Photo: 16081684 / Pixabay